We all know that Contabo offers some of the best VPS, VDS, and Dedicated Servers out there. However, they charge around $8 per month for installing Windows on your server, which can be expensive for many users. In this article, we’ll show you how to install Windows on a Contabo server yourself, potentially saving you that extra cost.

Alright, let's get started with the step-by-step process of installing Windows on your Contabo server.
Here's how you can do it easily:
Step 1: Reinstalling Your Server with Ubuntu 20.04
To reinstall your server with Ubuntu 20.04, follow these simple steps:
1. Go to Your Server Control Panel
Log in to your VPS, VDS, or Dedicated Server control panel. You’ll see your server details, like its IP address, status, and other options. Look for the “Re-Install” button.
2. Start the Reinstallation
Click the “Re-Install” button, and you’ll be taken to the OS reinstallation page. Choose “Ubuntu 20.04” as the operating system, generate a new password (don’t forget to save it), and then hit “Start Installation.”
3. Check Installation Progress
On the left-hand side of the menu, click “OS Installation.” Here, you can track the progress of your Ubuntu installation.
By following these steps, you’ll reinstall your server with Ubuntu 20.04, giving you a fresh and ready-to-use setup.

This will ensure you have the latest version of Ubuntu installed and properly set up on your server.
Step 2: Enabling Rescue Mode for Your Server
Once you’ve finished installing the OS, head back to your server control page. Here’s what to do next:
1. Find the Rescue System Option
Look for a button labeled “Rescue System” in the control panel. Click on it to move to the next step.
2. Select the Operating System
On the Rescue Mode page, choose “Debian-10” as the operating system. After that, generate a password for the rescue mode. Make sure to save this password.
3. Start Rescue Mode
Once everything is set, click the “Start Rescue System” button. The rescue mode will be enabled within 1 to 5 minutes.
That's it—your server is now in rescue mode, ready for further steps!
Step 3: Generate VNC Login Information & Access VNC
1. Go to Your Server Management Page
Head back to your server management page and find the “Manage” button. Hover your mouse over it, and a list of options will appear. Look for “VNC Information” and click on it.
2. Get VNC IP and Port
After clicking, you’ll see your VNC login details, including an IP address and port number.
Example:
VNC IP: 173.249.8.80
VNC Port: 64292
3. Generate VNC Password
In the same list, find the option labeled “VNC Password.” Click on it and generate a password for your VNC login. Just a heads-up—don’t use any special symbols in this password.
4. Download VNC Software
To access the server, download a VNC client software like RealVNC or UltraVNC on your PC. Install it, and open the software.
5. Login with VNC Details
Once you open the VNC software, you’ll see an option to input your VNC login details. Enter the VNC IP and port number like this:173.249.8.80:64292
Then, press enter. The software will prompt you to enter the password you generated earlier.
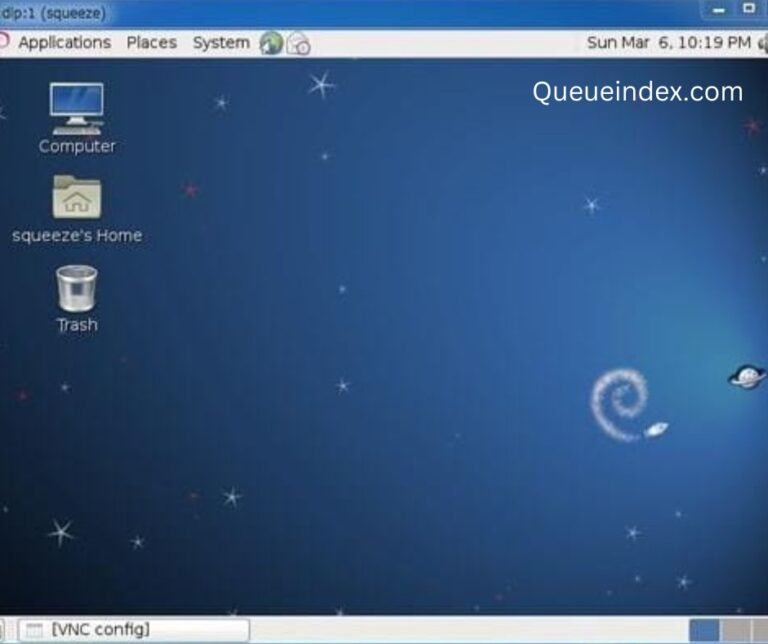
6. Access Your Server’s Desktop
If the details are correct, you’ll be connected to the server and see the desktop interface.

That's it! You now have access to your server through VNC.
Step 4: Installing Windows on Your Contabo Server
1. Open Terminal
- You’ll find the Terminal in the bottom menu of your VNC interface.
2. Run Commands
- In the terminal, you need to type in the following commands carefully (since copy-pasting directly into the terminal may not work). These commands will prepare your server for the Windows installation.
apt update
sudo apt update -y
sudo apt upgrade -y
sudo su
apt install gparted filezilla grub2 wimtools -y
gparted
gdisk /dev/sda
r
g
p
w
Y
mount /dev/sda1 /mnt
cd ~
mkdir windisk
mount /dev/sda2 windisk
grub-install –root-directory=/mnt /dev/sda
cd /mnt/boot/grub
nano grub.cfg
3. Modify GRUB Configuration
Now, you’ll need to write some code in the GRUB configuration file. This will allow your server to boot the Windows installer.
Write the following code in the file:
menuentry “windows installer” {
insmod ntfs
search –set=root –file=/bootmgr
ntldr /bootmgr
boot
}
- To save the file, press:
Ctrl + X
Then press:Y
Then press:Enter
4. Run Additional Commands
- Now, you’ll need to run these commands to download and set up the Windows installation files.
cd /root/windisk
mkdir winfile
wget -O win10.iso https://t.ly/swrq1
mount -o loop win10.iso winfile
rsync -avz –progress winfile/* /mnt
umount winfile
wget -O virtio.iso https://shorturl.at/aiy13
mount -o loop virtio.iso winfile
rsync -avz –progress winfile/* /mnt/sources/virtio
mkdir /mnt/sources/virtio
cd /mnt/sources
touch cmd.txt
echo ‘add virtio /virtio_drivers’ >> cmd.txt
wimlib-imagex update boot.wim 2 < cmd.txt
reboot
5. Reboot Your Server
- After running these commands, your server will reboot, and you’ll be able to start the Windows installation process. At this point, you should see the Windows installer ready to go.
By following these steps, you’ll successfully install Windows on your Contabo server.
After you’ve entered all the commands, your server will restart, and the Windows installation wizard will appear. Just follow the steps to finish installing Windows. Once done, you can access your server through Remote Desktop (RDP) using your PC’s RDP software. Simply log in with the server’s IP address, the username, and the password you set during the Windows installation.
